Mapping flowers and food
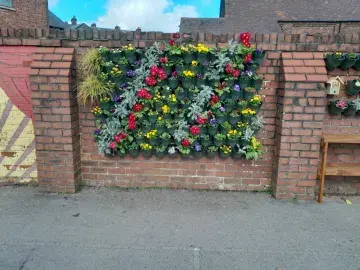
Flowers brighten up our outdoor spaces, and food growing provides opportunities to learn alongside fresh produce to eat. These activities focus on plants that have been deliberately planted on your site, rather than ones that grow wild.
This session will guide learners through a series of activities and discussion, supporting them to explore concepts around cultivated plants and food growing before using a flowchart to identify the exact habitat, which will form an important piece of your overall Nature Park map.

Preparation
What you need
- printed flowcharts and worksheets
- clipboards
- drawing materials
- tablet, laptop, or computer to access the online Habitat Mapper tool
- printed map of your site, if you do not intend to use the Habitat Mapper outdoors
Location
Indoors and outdoors – any time of year, but spring and summer are best
Useful guidance
Resources
Step by step
- Ask learners to work in small groups (three or four works well) and give each group a Who eats what? Worksheet.
- Give the group five minutes to read the list of plants and encourage them to discuss and circle which are grown as food for people. Emphasise that food grown for people often serves as food for nature as well. Remind learners that there is no right or wrong answer, but they must listen carefully to each other to come to a consensus.
- Facilitate a discussion comparing answers with the provided answer sheet and encourage exploration of any differences in answers among the groups.
- After completing the activity, head to an area of flowers or food growing – where plants have been intentionally planted as opposed to growing wild. Depending on how much support learners need, if you have multiple areas of this habitat you may wish to ask each group to investigate a different area – this will help you to map multiple areas in one session.
- Each group can use the Flowers and food habitat flowchart, answering each question to reach a decision on which habitat they have. Repeat this for each area of flowers or food on your site, until you have identified them all.
- If using a printed map of your site: ask learners to draw and label the habitat they have just identified on the map. If using the Habitat Mapper tool on a mobile device: educators and learners can work together to accurately draw the habitat on the map.
- If you used a printed map, remember to add the habitats identified to the Nature Park map using the Habitat Mapper tool when you are back in the classroom. This is a really important step to ensure your site and your observations contribute to real-world, groundbreaking research by the Natural History Museum into nature recovery.
Reflection
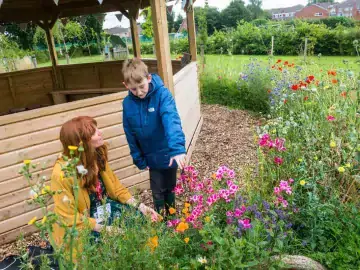
Ask learners to consider how they know whether these plants were intentionally planted by people or if they are wild, growing on their own. Guide the conversation toward understanding the varying needs of different plants. Ask learners to think about how much help each type of plant might require from people to grow successfully. If there are plants that were not planted, encourage learners to think creatively about how these plants might have ended up in their discovery spot.
Curriculum links
This is a community science activity that contributes directly to real scientific research for the Nature Park. Taking part in the activity can aid development of working scientifically, geography fieldwork and citizenship skills alongside consolidating science curriculum knowledge and enhancing nature education.
Map another habitat
Mapping hedges and bushes
Begin activity