Nature Surveys: take part in national science research
Learners can conduct these surveys to measure biodiversity on their site. The Pollinator Count and Grassland Plant Survey are structured surveys based on national schemes, while iNaturalist is an entry-level tool to identify the wildlife on your site.
See the pages for each survey for specific curriculum links and key learning points.
Choose your survey
Pollinator Count
 | A five-to-ten minute count that involves looking at flowers and counting the pollinators that land on them, no matter if in a meadow or in a pot. The survey is ideal for supporting learners to apply knowledge of classification and observe insects involved in plant reproduction. There are two versions that involve either focusing on a few key insect groups or counting a full range of common insects. Measure changes in pollinator biodiversity on your site by running this count before and after you make a change in the same location, or in two different flower habitats. |
Go to the Pollinator Count - expanded
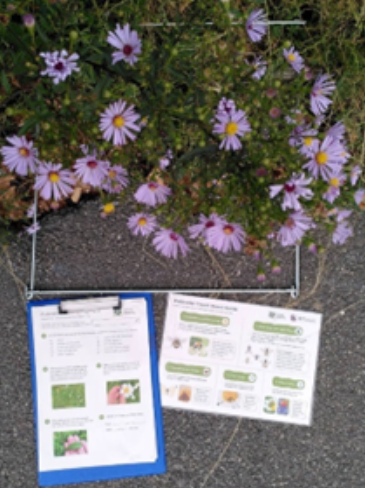
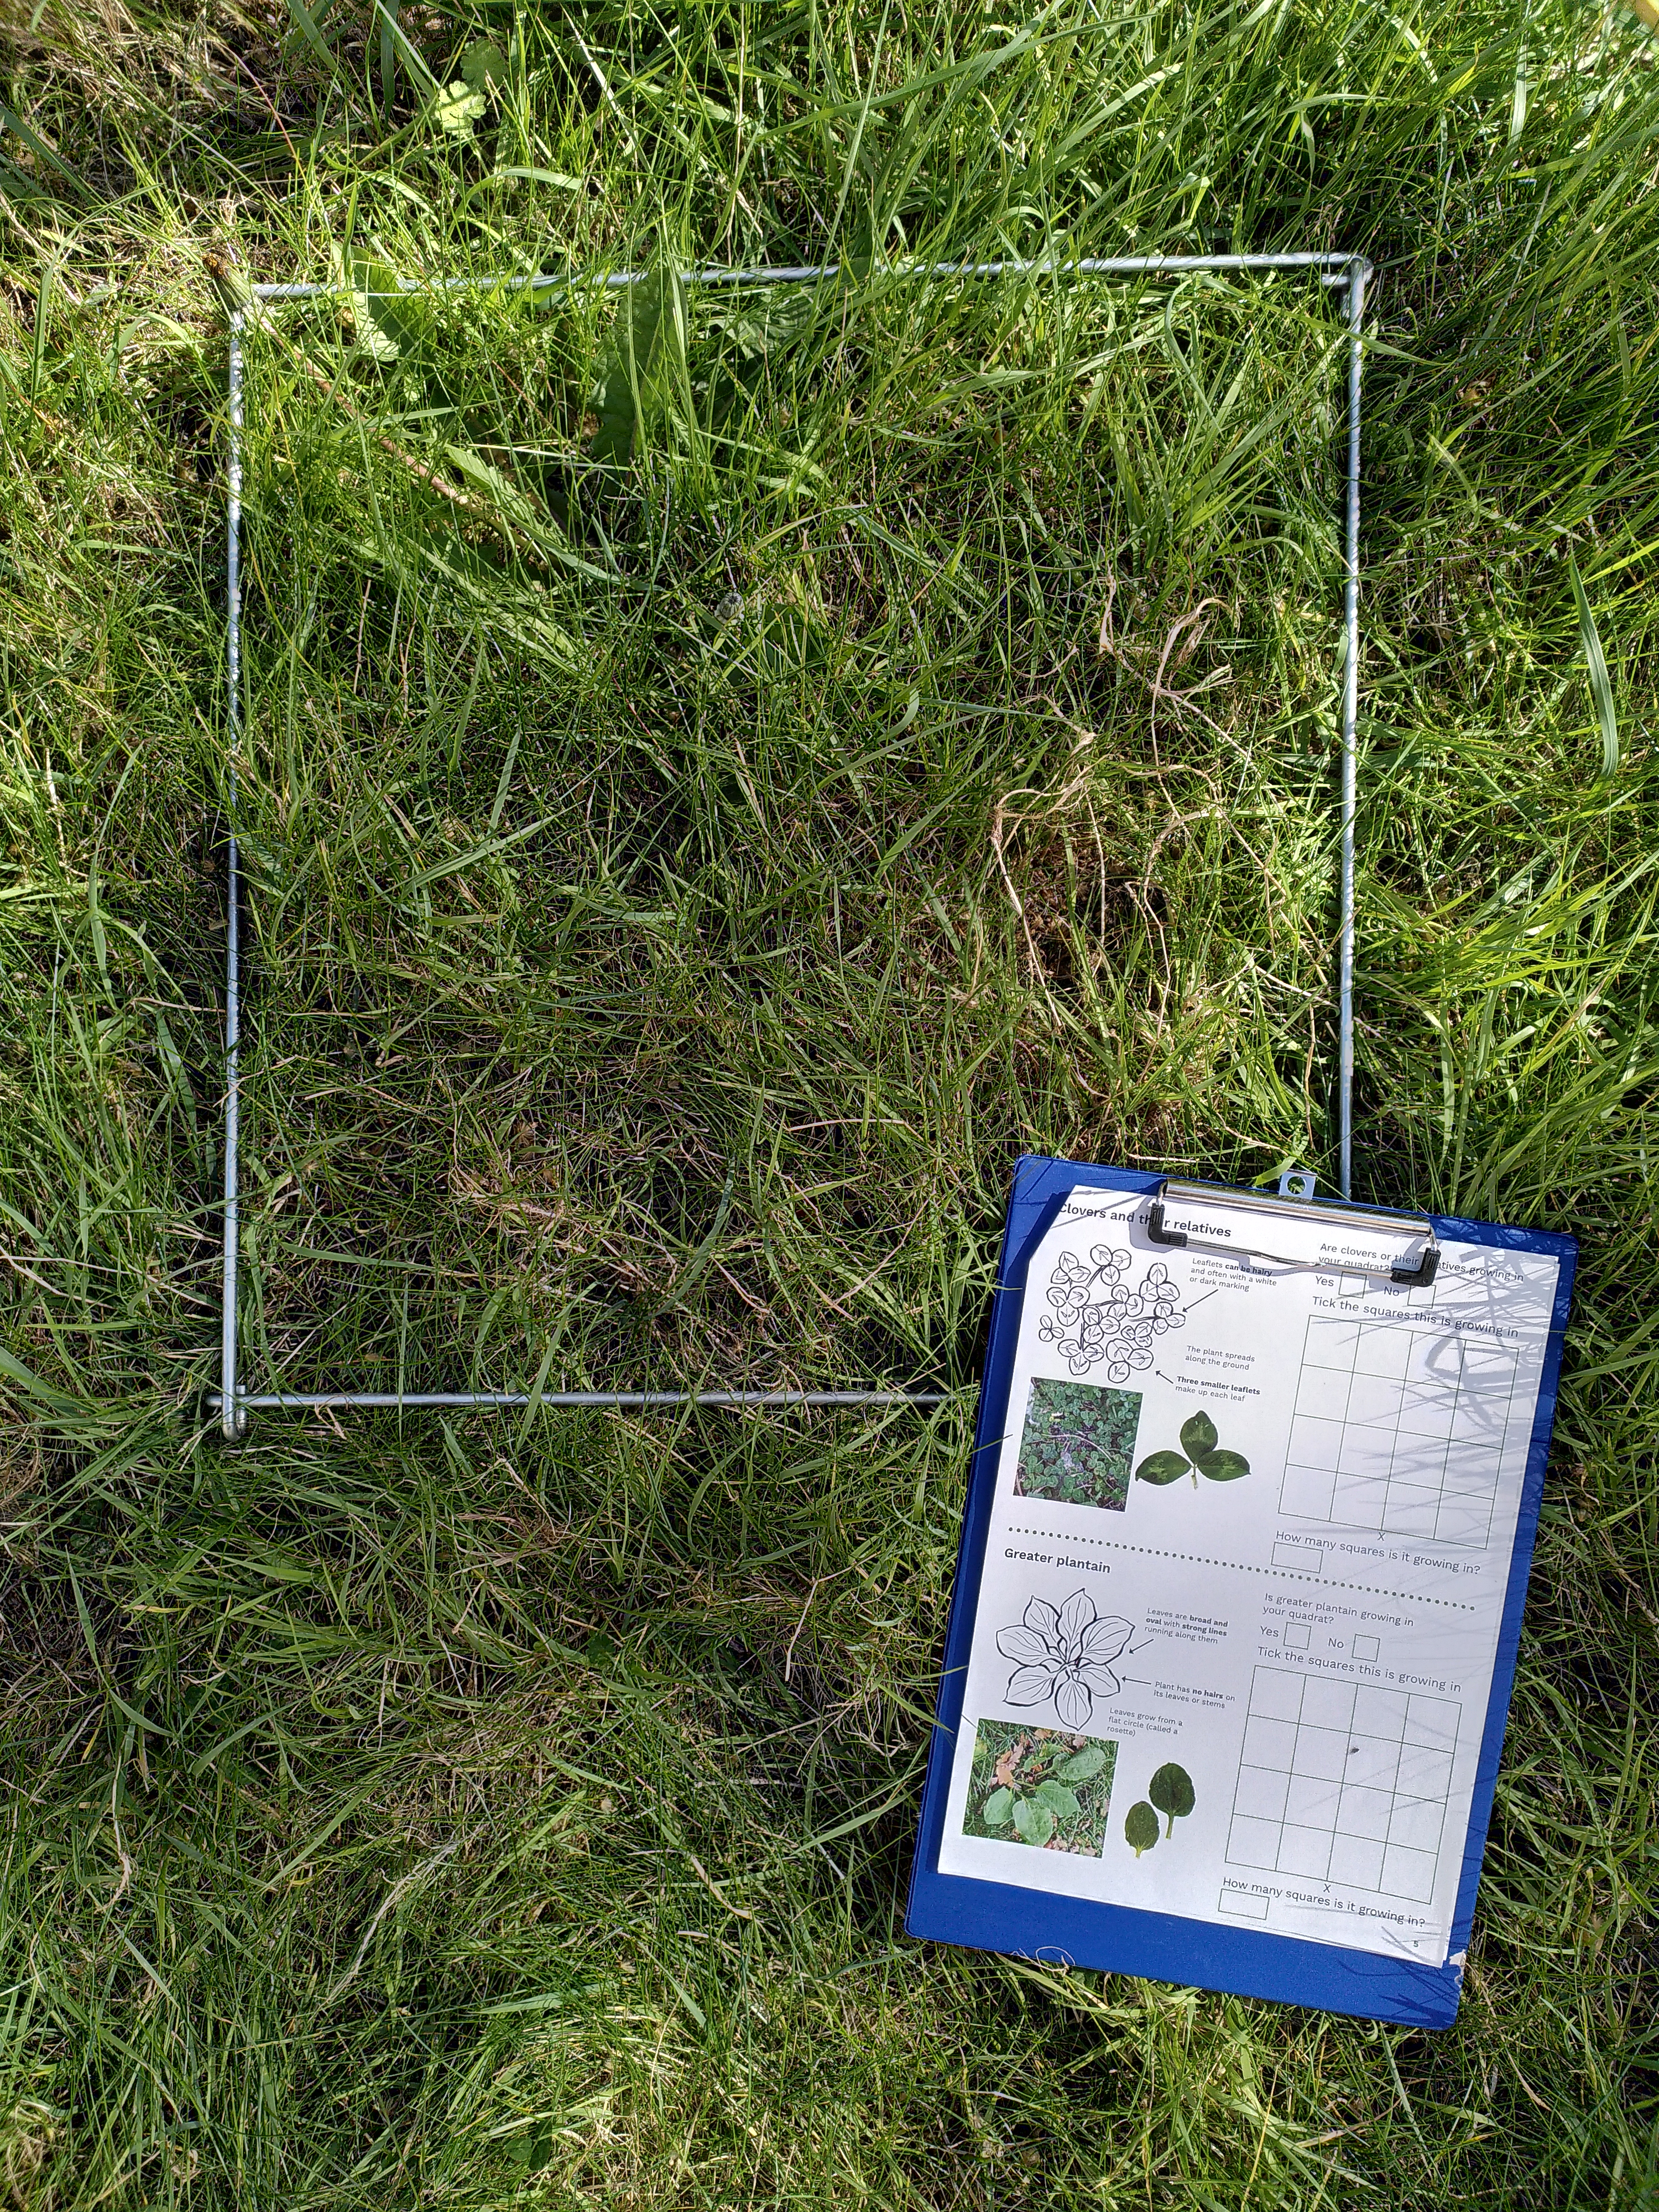
Grassland Plant Survey
| A ten minute survey that involves using quadrats and searching for specific common plants, no matter the size of the grassy area. Learners will develop their observation and fieldwork skills and appreciation for plant biodiversity. There are two versions that involve either directly estimating the percentage of the area covered by each plant, or indirectly through ticking squares on a grid. Measure how you’re increasing grassland biodiversity by running this survey before and after you make a change in the same location, or in two different grassy habitats. |
Go to the Grassland Plant Survey
Go to the Grassland Plant Survey - expanded
iNaturalist
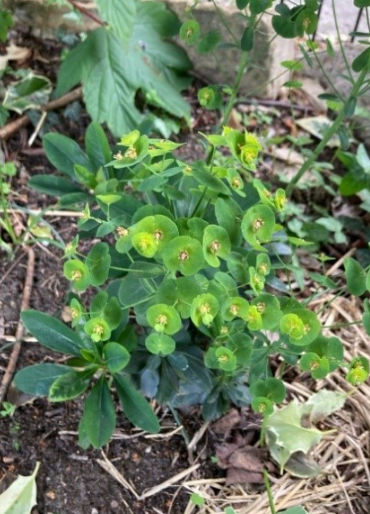 | An entry-level tool for identifying and recording nature. Learners take photos of plants, animals or fungi and the iNaturalist platform suggests what the species might be. Learners will develop curiosity and become more familiar with common living things in their local area. iNaturalist can also be used as an introduction to biodiversity and species distribution. When creating an account, make sure: |
See all nature survey results collected by education settings across England on the Nature Park Map here.
How to make evidence-based decisions to boost biodiversity
You can take part in the nature surveys at any point in your Nature Park journey. It’s especially valuable as the next step after completing your baseline habitat map.
When you make habitat changes to your grounds, like a new pond, a car park or a meadow, draw them on the Tracking Changes tool (separate to your baseline habitat map) to see the difference you are making.
By doing nature surveys before and after you make changes, or in two different habitats (such as a lawn and a meadow), you will be able to:
- use the results to make informed decisions about which habitat enhancements best suit your space
- measure the impact of your efforts over time
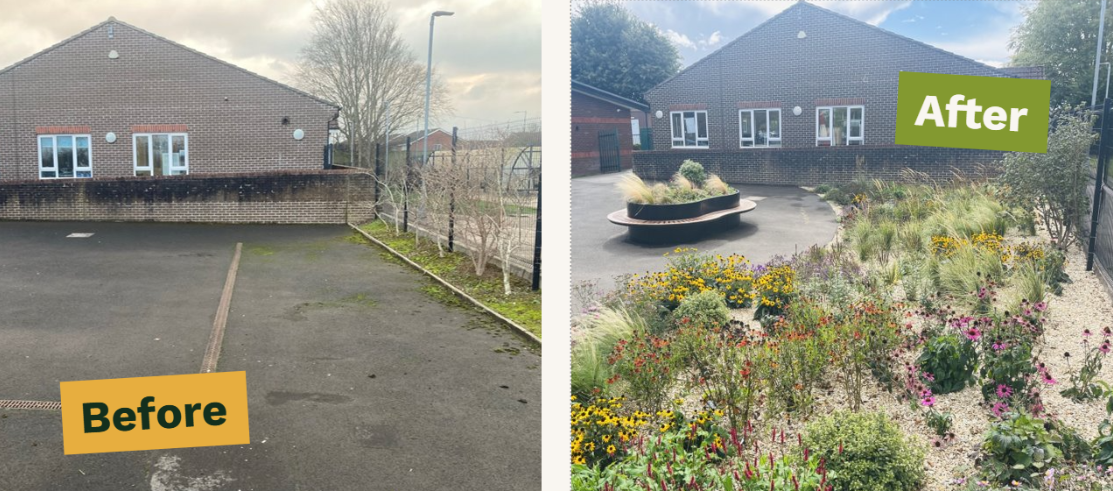
Credit - Chilton Trinity School
Adding wildflowers in towns has been shown to increase the total numbers of pollinators by 109% and the number of pollinator species by 46% (read more here). How could you boost the number of pollinators on your site?