Mapping ground without plants

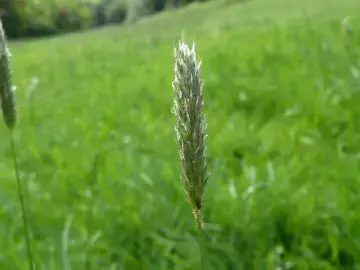
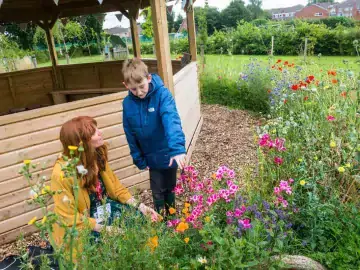
Spaces such as playgrounds, paths or car parks are important for the daily use of your school site and can offer resources for nature but they can be improved to bring greenery and life into currently grey spaces.

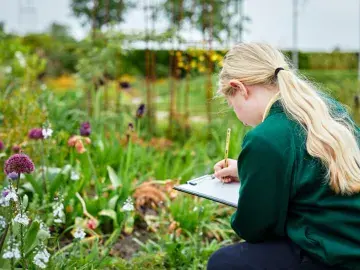
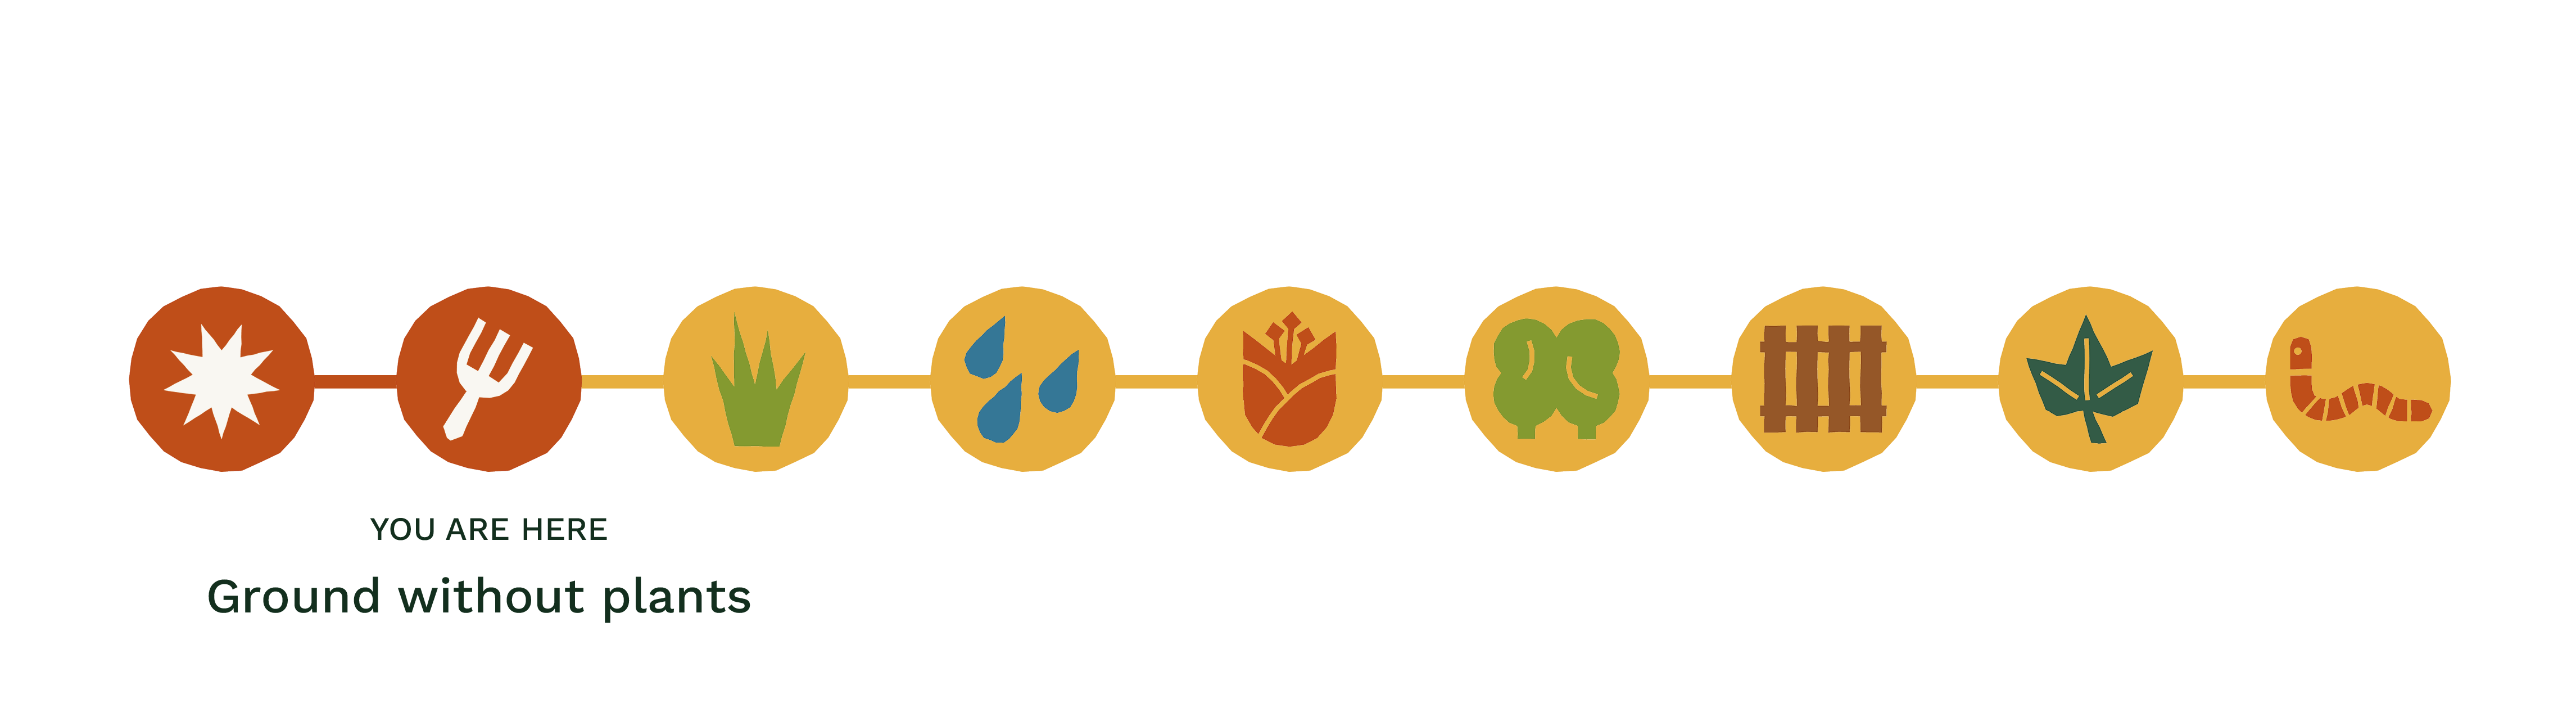
This session will guide learners through a series of activities and investigations, supporting them to identify the properties of different ground materials before using a flowchart to identify the exact habitat, which will form an important piece of your overall Nature Park map. 

Progress bar displaying 'you are here' on ground without plants
Lesson plans
KS2
KS3
Science
Geography

Preparation

What you need 
  • printed flowcharts and worksheets
  • clipboards
  • drawing materials
  • 4 x 500ml containers of water for each area you test
  • stopwatch
  • tablet, laptop, or computer to access the online Habitat Mapper tool
  • printed map of your site, if you do not intend to use the Habitat Mapper outdoors 
Location

Outdoors, at any time of year 

Useful guidance  

Step by step

  1. Ask learners to work in small groups (four works well) and find an area of ground that doesn’t have plants in it. Depending on how much support learners need, if you have multiple areas of ground without plants you may wish to ask each group to investigate a different area – this will help you to map multiple areas in one session.
  2. Using the Ground without plants worksheet, learners will work through the four activities to identify different properties of the ground. First, they check that the ground is in fact bare by taking seven steps and trying not to stand on a plant – if they can do this, the ground is considered bare.
  3. For the second activity, learners will investigate the ground’s permeability. Each group will need to use three 500ml bottles of water for each area they check. Pour one 500ml bottle of water onto an area the size of a pencil case and time for one minute to see if it soaks into the ground. Repeat up to two more times. If the water soaks in, the ground is permeable; if not it is impermeable.   
  4. In the third activity, learners examine the ground to determine if it is made from a natural or non-natural material.
  5. The last activity is only required if the ground is impermeable and made from a natural material. Learners will pour a fourth 500ml bottle of water onto the ground and rub the ground hard with a finger. This determines if the ground is bare soil or rock.   
  6. After completing these activities, each group can use the Ground without plants habitat flowchart, answering each question to reach a decision on which habitat they have. Repeat this for each area of ground without plants on your site, until you have identified them all.  
  7. If using a printed map of your site: ask learners to draw and label the habitat they have just identified on the map. If using the Habitat Mapper tool on a mobile device: educators and learners can work together to accurately draw the habitat on the map.  
  8. If you used a printed map, remember to add the habitats identified to the Nature Park map using the Habitat Mapper tool when you are back in the classroom. This is a really important step to ensure your site and your observations contribute to real-world, groundbreaking research by the Natural History Museum into nature recovery. 

Open Habitat Mapper tool

Reflection

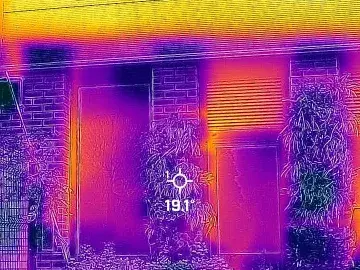
The material the ground is made from, and whether water can soak through, has a big effect on how likely the area is to flood, and also how friendly it is to nature. Invite learners to think about two scenarios – a) a grass playing field being covered with tarmac, and b) a tarmac car park being changed to gravel. What would happen in a heavy rainstorm? Have the changes made the area better or worse for nature? And for people? Why?
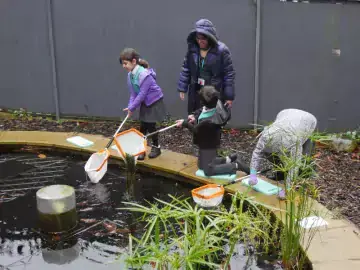