
Habitat mapping: a Nature Park guide
Mapping the habitats on your site is one of the first steps to make a difference to your outdoor space – whether it’s already buzzing with life or a little greyer than you would like. Using GIS technology and fieldwork, the habitats you identify on your site will support real-world, global biodiversity research. You don’t have to be an expert in fieldwork — the following guidance and activities will enable learners and educators with a range of knowledge and experience to contribute their discoveries to the map.
Learners will work together throughout this process, with introductory activities for each session and flowcharts to identify the exact habitats around them. The data you collect will be brought to life with our online tool, enabling you to measure and track the gains you achieve for nature throughout the Nature Park programme.
What's habitat mapping all about?
1. What habitats do you have?
Your site likely includes several different types and sizes of habitat – you may need to map all eight different habitat categories, or you may only have two or three.
To introduce learners to the concept of habitats why not try Introduction to Habitats or Habitats: Biotic and abiotic factors.
You can then use the Habitat Checklist below to tick off which habitat types you have on site and will need to map with learners. You can also use the What habitats do we have? worksheet to involve learners in this process.
Even if you only have limited habitat types in your grounds, you can still learn about habitats with our Habitats unit of learning for Key Stage 2.
2. What will you need?
- make sure you’ve created your site boundary on the Nature Park map – it only takes a few minutes
- internet access on a digital device to map your habitats using our Habitat Mapper tool – you could use mobile devices such as tablets to add habitats as you go (if you have internet connection outdoors), or use a computer back in the classroom
- a printed map of your site for learners to mark habitats, if you do not intend to use the Habitat Mapper outdoors
- printed flowcharts and activity worksheets for each habitat you are mapping – these can be found on each habitat activity page. Learners could work in pairs or small groups to reduce printing.
- clipboards and pencils
- some habitat types require extra materials, such as quadrats or stopwatches
- time – depending on the size and complexity of your site, you may spread the activities out over a couple of sessions, a half term or whole term. You may wish to run some of the sessions as a whole class and deliver others through smaller group exercises. Some habitats may take a whole session to map if they are large, complex or you have multiple patches (for example, multiple areas of different kinds of grassland), while others could be carried out as quicker activities before moving on to the next (for example, a pond).
3. Practise using the Habitat Mapper tool
It’s a good idea to get familiar with the Habitat Mapper Tool before beginning sessions with learners. Make sure you are logged in to your account on the Nature Park website using a tablet or computer, and click the button below to open the Habitat Mapper.
Open Habitat Mapper Troubleshooting guide
We have recently improved the Habitat Mapper tool so you can access it from a browser. If you started habitat mapping using the Field Maps app, you can continue using the app (by clicking here) or use the browser – whichever you prefer.
If asked to log in again, just click the big blue button that states: ‘Click here to access Nature Park National Education Nature Park Hub Community’
You can find more support on using the Habitat Mapper tool by accessing our digital tools how-to guide, or watching our webinar. Once you feel confident using the tool, you are ready to map your habitats!
4. Map your habitats with learners
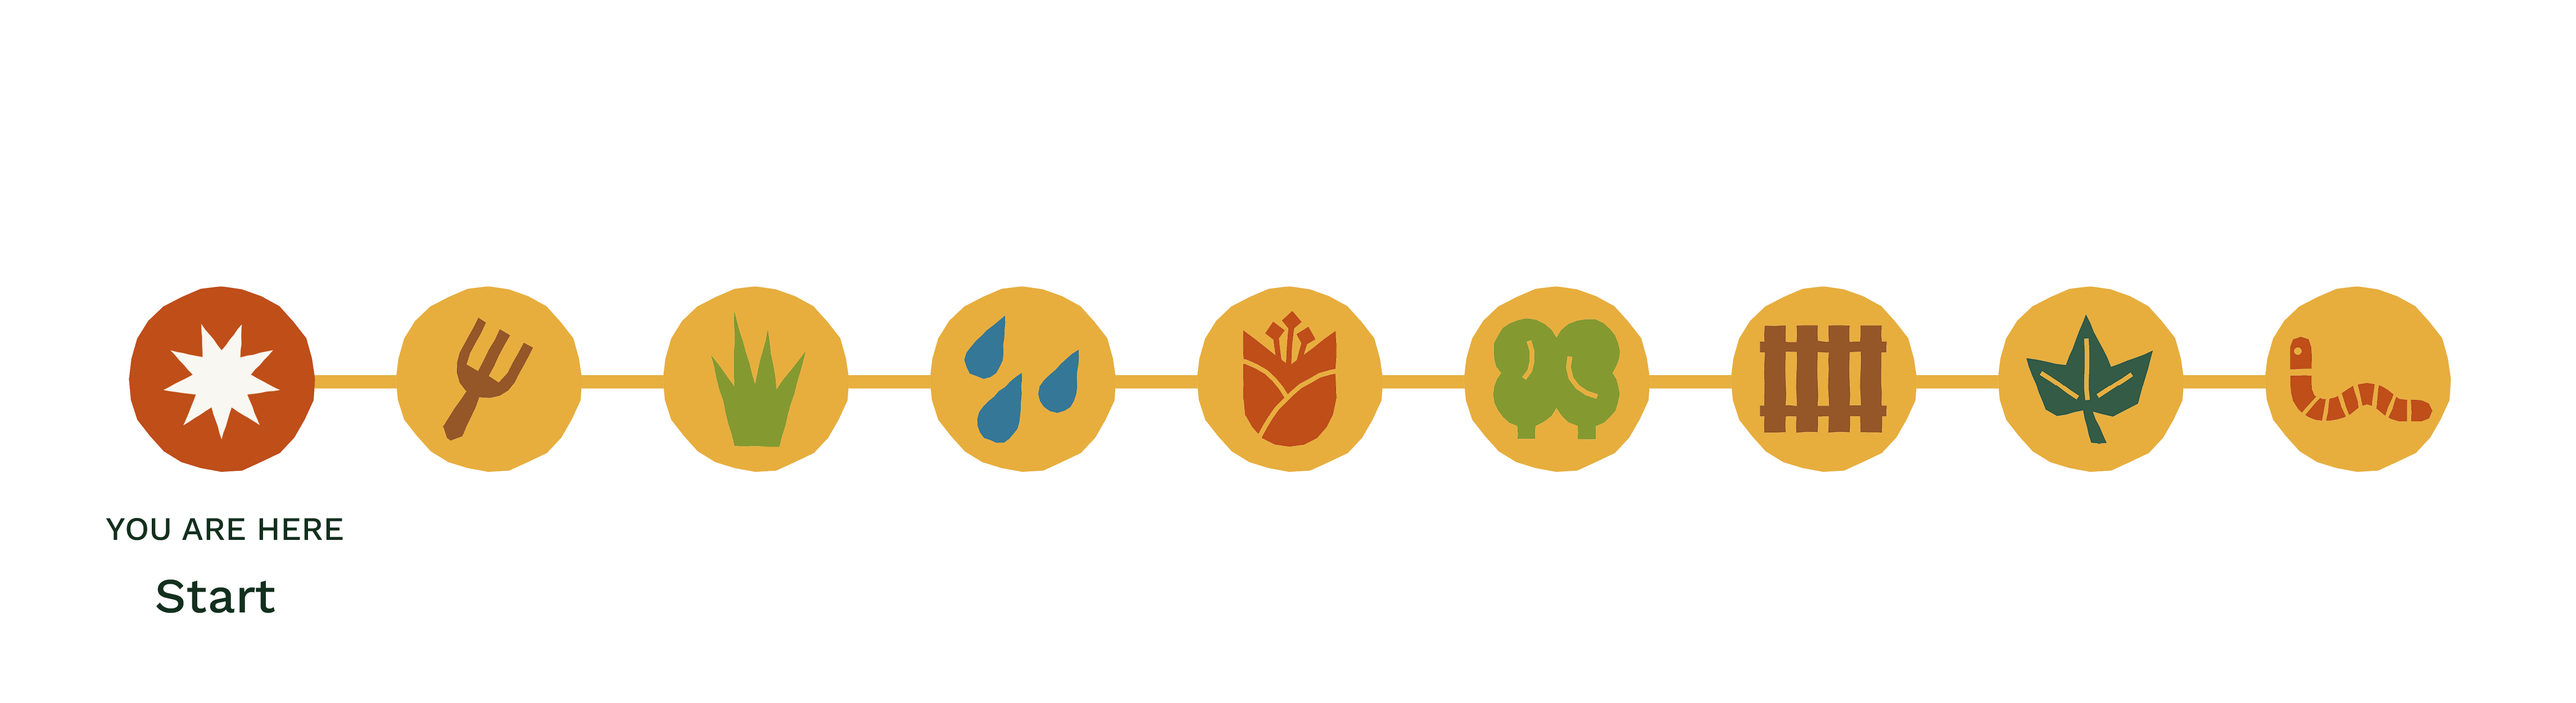
Below are quick links to each of the eight habitat mapping activity pages. Head to the page for each habitat type that you have, and work through the activities with learners.
Here are some suggestions on how you might like to deliver the habitat mapping activities:
- Whole class, one habitat patch per session: keep learners together in one group investigating the same patch of habitat at one time – this means your habitat mapping may take longer, but encourages the class to work together to reach an answer.
- Group work, multiple patches per session: split learners into groups to each investigate a different patch on your site at the same time – for example, several different areas of grassland, or different smaller habitat areas. This means you could map multiple patches or habitat types per session!
- Whole day of mapping activities: if possible, you could bring multiple classes together for a whole day of habitat mapping, by rotating groups through activities and adding your findings to the Habitat Mapper Tool at the end of the day.
Work your way through the habitat mapping activities:
Image
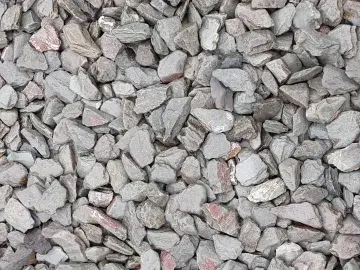
Mapping ground without plants
Begin activityImage
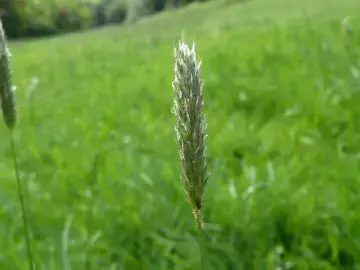
Mapping grass and wildflower habitats
Begin activityImage
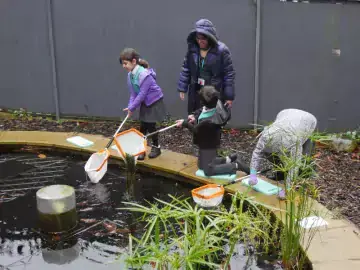
Mapping water habitats
Begin activityImage

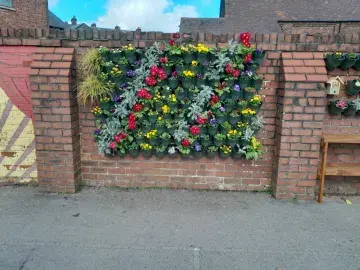
Mapping flowers and food
Begin activityImage
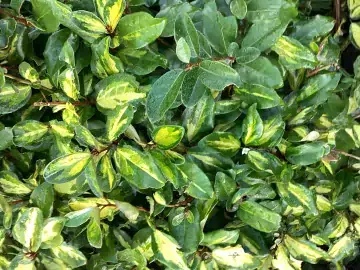
Mapping hedges and bushes
Begin activityImage
Mapping vertical features
Begin activityImage

Mapping tree habitats
Begin activityImage

Mapping microhabitats
Begin activity
5. Review and celebrate
You’ve put in a lot of work to explore and understand your site and create your map – an important part of your Nature Park journey. It’s time to celebrate your achievements and reflect on what you’ve learned about your space. Here are some ideas:
- hold an assembly or classroom presentation to share your learnings with others and the contribution that different groups have made
- use the ideas in three ways to share your findings for more ways to communicate your progress to the rest of your school
- this guide on capturing impact can help you to support learners’ reflection and communication about their learning experience
Your baseline habitat map represents your starting point. From here, with your learners you can decide what kinds of improvements you'd like to make - perhaps turning a grey area to greenery, letting some grass grow long, planting flowering grassland plants or installing a pond or rain garden. Or maybe you have other ideas?
If you make a change to your site after completing habitat mapping, you can add it to the Nature Park map using the Tracking Change tool (not the Habitat Mapper tool).
Curriculum links
This is a community science activity that contributes directly to real scientific research for the Nature Park. Taking park in the activity can aid development of working scientifically, geography fieldwork and citizenship skills alongside consolidating science curriculum knowledge and enhancing nature education.
What to try next
Image
Mapping ground without plants
Begin activityImage
Mapping grass and wildflower habitats
Begin activityImage