Image
In this survey, learners will observe, measure and record what they find in and amongst the grass on their site. This survey can be done at any time of year, and no prior plant identification knowledge is needed!
The data will give a more in-depth understanding of grasslands in educational settings, allowing insights into how these grasslands support wildlife. Learners can use the survey to monitor the impact of habitat changes, such as how stopping mowing and letting grass grow long impacts plant diversity.
This survey has been adapted from the National Plant Monitoring Scheme.
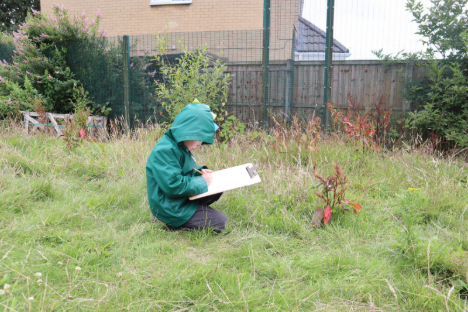
Getting to know your space
Recording change
If you are doing the survey digitally:
If you are doing the survey on paper:
Upload your results when you come back into the classroom or in signal range. You must be logged into your Nature Park account to upload your results.
To upload your results, your site must already be on Nature Park Map. Add it to the Map by drawing your site boundary (5 mins).
Either click 'launch activity' above after logging into your Nature Park account or scan the QR code below.

Outdoors
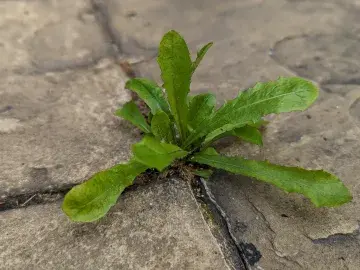
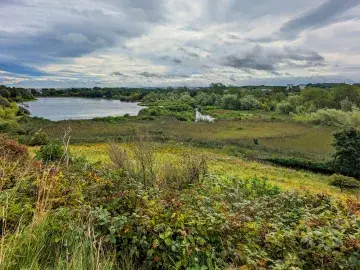
Watch this short video on how to carry out the Grassland Plant Survey:
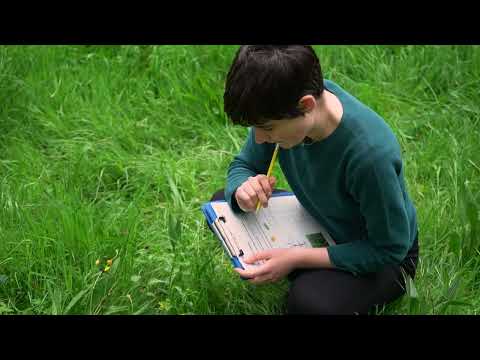
0:00
Grassland habitats support a wide variety of life, and are the largest green habitat on school, nursery and college sites. By taking part in the Nature Park Grassland Plant Survey, you'll use scientific research methods to understand the health of grasslands on your site, and track how you're boosting biodiversity over time.
The way you manage these habitats makes a big difference to what can live there. From big playing fields to a tiny grassy strip, you can do this survey on any size of grassland area, and at any time of the year. Check out our curriculum-linked resources to introduce key concepts before the survey.
0:39
So, start by choosing the areas you are going to survey. You can choose two different habitats to compare – like a playing field and a meadow. Or, you can choose an area that you want to make a habitat improvement to, so you can carry out the survey before and after the change.
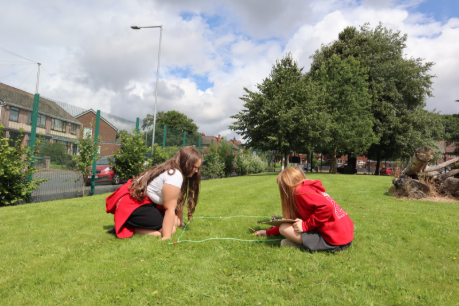
You can do the survey using a tablet or on paper. To begin, divide into groups, each group has one recording form, one pencil and one 50x50 centimetre quadrat. To make the quadrat, you can use any materials, like metal rods, bamboo or string. Put down the quadrat on your chosen area of grass.
1:16
Then, start filling in your recording form, date, time, and if you have a camera, take a picture from above. And measure the height of the tallest plant. Then, search for and pick individual leaves and lay them on a piece of paper, if you can, take a picture. And remember, dead leaves don’t count!
Now time to look for indicator plants. Look closely at your quadrat to identify them by their leaves. Make sure the leaves match what you have on the form by looking at the description, leaf shape and pictures. You'll probably not see all of these indicators on your site as they are adapted to different habitats. The key thing is just to search and note if you have them.
There are two versions of the survey, where learners can either estimate the percentage of the area covered by each plant, or tick the box if the plant is present. Once complete, repeat in your second habitat, so you can either compare the two different sites, or the before and after to demonstrate the improvement you’ve made.
If you’ve used a tablet, click submit! If you’ve used paper, go back to the classroom to submit your results online.
2:28
To see all of your results together, look at the Nature Park Map, and use our curriculum-linked resources to find out what the indicator plants tell us about a habitat. You can also check out our guidance on how to create and boost biodiversity in your grassy areas.
By collaborating with us on this survey, you’ve taken part in groundbreaking research into nature recovery on school, nursery and college grounds at a national scale. We can’t wait to see your results!
The below video shows you the online survey form.
Reflection
Why was it important to do surveys in different spots? Why didn’t we do the survey across the whole grassy area? Would the information we would get from the survey of the whole grassy area be different from the survey we did using a few spots?
Working scientifically